If nagging back pain is slowing you down, you’ve come to the right place. This guide is all about getting you back in control with simple yet incredibly effective back physical therapy exercises you can do right at home. We're skipping the complicated routines and expensive gear to focus on what truly matters: sustainable relief that fits your life.
This guide will walk you through everything you need to know. We’ll cover gentle movements for immediate relief, core exercises to build a natural brace for your spine, and how to create a simple, consistent routine you can stick with. Let's get started.
Why Simple Exercises Are The Key to a Healthy Back
When your back hurts, the last thing you need is an intense, complex workout. The great news? You don't need one. Real, effective back care begins with foundational movements that get to the root of the problem—weakness and stiffness—not just mask the symptoms.
And if you're dealing with back pain, you are far from alone. It's a massive global issue, impacting an estimated 619 million people in 2020. The World Health Organization even calls it the leading cause of disability worldwide.
The Foundation of At-Home Back Care
Our approach zeroes in on three areas that provide the biggest results with the least amount of strain.
- Gentle Mobilization: The first step is to gently encourage movement in stiff, painful spots. This simple act reduces that protective muscle tightening and gets blood flowing, which is crucial for healing.
- Core Stabilization: Think of your core muscles as a natural brace for your spine. When they're strong, they provide critical support, taking a huge amount of pressure off your lower back.
- Functional Strength: We'll also build strength in your glutes and legs. This retrains your body to use these powerhouse muscles for lifting and moving, rather than constantly straining your back during everyday tasks.
These exercises are a fantastic starting point, and they pair well with other natural pain relief methods for back pain you might be exploring.
The goal isn't to become a contortionist. It's about building enough strength and mobility to move through your day confidently and without pain. Consistency with these simple back physical therapy exercises is what builds lasting resilience.
What You'll Need: Your At-Home Back Relief Essentials
Before we dive into the exercises, let's get you set up. It really doesn't take much—this is Bare Fitness, after all.
Here's a quick look at the minimal equipment and core principles you'll need to start your back physical therapy exercises safely and effectively.
With these basics in mind, you're ready to begin your journey toward a stronger, healthier back.
Gentle Movements for Immediate Pain Relief
When your back is screaming, a hardcore workout is the last thing you need. The goal here is gentle mobilization. Think of it as calmly persuading your tight muscles to relax, not forcing them into submission. This first phase is all about taking the edge off the pain and getting you moving again safely.
These foundational back physical therapy exercises are your first-aid kit for recovery. They’re designed to dial down muscle guarding—that automatic clenching your body does when it's hurt. They also get blood flowing to the area, which is exactly what your back needs to start healing.
A simple but powerful tip: sync every movement with your breath. It's a game-changer for releasing tension.
Your Essential Mobility Moves
Let's walk through three of the safest, most effective moves you can do when your back first starts acting up. Forget about speed or how many reps you can do. Right now, it's all about good form.
1. Pelvic Tilts
This one is incredibly subtle, but don't let that fool you. The pelvic tilt is one of the most powerful back physical therapy exercises for waking up deep core muscles and easing stiffness in your lower back.
- Get Set: Lie on your back with your knees bent and feet flat on the floor, about hip-width apart. Let your arms rest by your sides. You should have a small, natural curve in your lower back.
- The Move: As you exhale, gently flatten your lower back against the floor. You’ll feel your pelvis rock back slightly and your abs tighten. It's a tiny, controlled motion.
- Hold and Release: Hold this gentle contraction for 3-5 seconds. Then, inhale and slowly return to the starting position.
- Common Mistake: Avoid lifting your hips off the floor like you're starting a bridge. Keep it small. The movement should only come from your pelvis and lower back.
2. Cat-Cow Stretch
This is a physical therapy classic for a reason. It’s fantastic for improving flexibility along your entire spine. Think of it as a gentle massage for all the little muscles that support your vertebrae.
- Get Set: Come onto your hands and knees in a tabletop position. Make sure your wrists are right under your shoulders and your knees are stacked directly under your hips.
- The "Cow": Take a deep breath in, let your belly drop towards the floor, and lift your chest and tailbone to the sky. Look slightly forward.
- The "Cat": Now, breathe out. Press into your hands to round your spine up toward the ceiling. Tuck your chin to your chest.
- Go with the Flow: Move smoothly between these two poses, letting your breath set the pace. Aim for 10-15 slow, deliberate repetitions.
Bare Fitness Tip: Never, ever push into sharp pain. You're just exploring your pain-free range of motion. Be patient with yourself. As you get more consistent, you'll find that range starts to open up on its own.
Knee-to-Chest Stretch
This move is a lifesaver for releasing tension in the lower back and glutes, two areas that get notoriously tight when you're dealing with back pain.
- Get Set: Lie on your back with your knees bent and feet flat on the floor, just like the pelvic tilt.
- The Move: Gently bring one knee up toward your chest. You can hold onto your shin or the back of your thigh. Keep the other foot planted on the floor for stability.
- The Hold: Stay here for 20-30 seconds, taking slow, deep breaths. You're looking for a comfortable stretch, nothing more.
- Switch It Up: Slowly lower your leg and do the same on the other side.
Progression and Modification Options
- Modification: If grabbing your shin is a struggle, loop a towel around your thigh and use that to gently guide your leg.
- Progression: Once this feels good, you can try gently pulling both knees to your chest at the same time. But as always, your body gets the final say.
- Common Mistake: Don't pull so hard that your tailbone lifts way off the floor. That can actually put more strain on your spine, which is the opposite of what we want.
Think of these gentle movements as the foundation of your at-home back care plan. They're safe enough for most people to do even during a flare-up and are absolutely essential for prepping your body for the strengthening work that comes next.
Building a Strong and Supportive Core
Once you’ve gently mobilized your spine, it’s time to start building real strength. Think of your core muscles as a natural corset that wraps around your midsection. When this "corset" is strong and engaged, it provides incredible, built-in support for your lower back, taking a massive amount of strain off your spine.
This isn't about chasing a six-pack. We're focusing on the deep, stabilizing muscles you can't see—the ones that are essential for long-term back health. Strengthening these is a non-negotiable part of any effective back physical therapy exercises plan.
Why Core Stability Is a Game-Changer
Targeted core work is one of the most effective things you can do to fight back pain, and the science backs this up. Exercise is consistently proven to be more effective than doing nothing for chronic low back pain.
In fact, one study showed that after just 10 sessions of core stabilization exercises, people reported significant drops in both their pain levels and disability. It's powerful stuff.
The exercises below are my go-to's because they challenge your core without putting your back in a risky position.
Your Foundational Strengthening Moves
Let's walk through three powerhouse exercises that form the heart of a solid core routine. Remember, the goal here is control and stability, not speed.
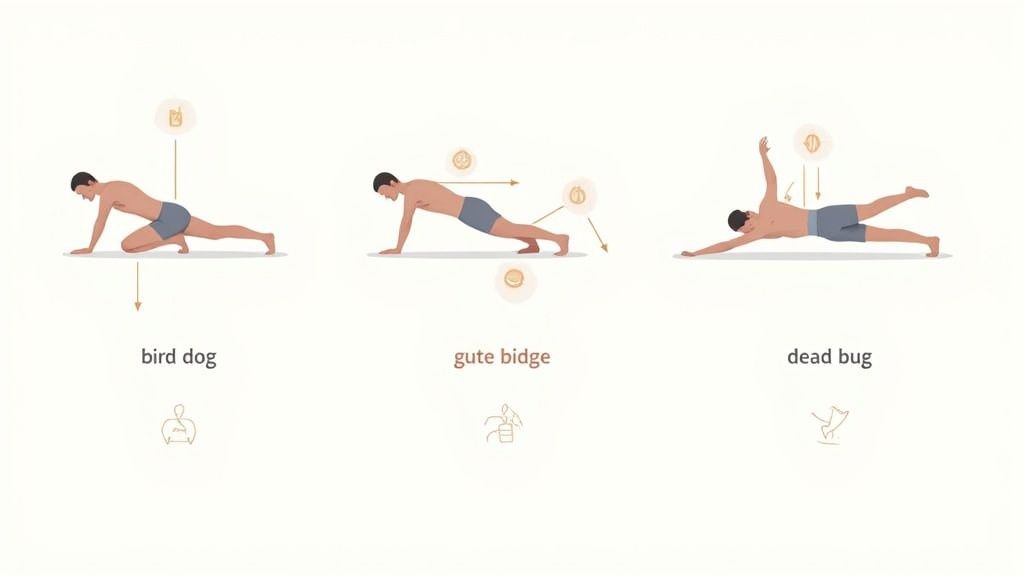
1. The Bird-Dog
This movement is a superstar of back physical therapy exercises. It’s brilliant because it teaches your core to resist rotation, which is a key job for protecting your spine during everyday activities, like carrying groceries.
- Get Set: Start on your hands and knees in a tabletop position, just like Cat-Cow. Keep your back flat and your gaze on the floor to keep your neck neutral.
- The Move: Tighten your core, like you’re bracing for a light punch. Slowly extend your right arm straight forward while simultaneously extending your left leg straight back.
- Form Cue: Your main job is to keep your torso rock-solid. Imagine you have a glass of water balanced on your lower back that you can't spill. Don't let your back arch or your hips sag. Hold the extended position for 2-3 seconds.
- The Return: Bring your arm and leg back to the start with total control. Now, repeat on the other side. That’s one full rep.
2. The Glute Bridge
Your glutes are absolute powerhouses, and they're meant to do a ton of heavy lifting. When they're weak, your lower back often picks up the slack and pays the price. The Glute Bridge wakes them up and teaches them to fire correctly.
- Get Set: Lie on your back with your knees bent and feet flat on the floor, about hip-width apart. Let your arms rest by your sides.
- The Move: Squeeze your glutes first, then press through your heels to lift your hips until your body forms a straight line from your shoulders to your knees.
- Form Cue: Be sure you're lifting by squeezing your glutes, not by arching your lower back. You should feel your glutes tight and engaged at the top. Hold for 3-5 seconds.
- The Return: Slowly and with control, lower your hips back down.
- Common Mistake: Avoid pushing your hips way too high, which causes the lower back to arch. Only go as high as you can while maintaining that straight-line position.
3. The Dead Bug
Don't let the silly name fool you—this exercise is seriously effective. The Dead Bug challenges your deep core stabilizers while keeping your spine in a safe, neutral position. It's a much better choice than crunches or sit-ups, which can put unwanted pressure on your back.
- Get Set: Lie on your back and raise your arms straight up toward the ceiling. Lift your legs so your knees are bent at a 90-degree angle and stacked directly over your hips.
- The Move: Gently press your lower back into the floor to engage your core. Slowly lower your right arm and your left leg toward the floor at the same time.
- Form Cue: The key is to lower only as far as you can without letting your lower back arch off the floor. The second you feel it start to lift, you've gone a bit too far for now.
- The Return: Bring your arm and leg back to the starting position, then repeat with the opposite arm and leg.
These foundational moves help you transition from simply managing pain to building a truly resilient body. For anyone looking to deepen their core work with specialized equipment, a Pilates Reformer can be a fantastic tool for taking that targeted strengthening and flexibility to the next level.
Building Strength for Lasting Resilience
Once you’ve got the basics of core stability down, it’s time to build on that foundation. This is where we start building real-world strength—the kind that lets you lift a heavy box or get through a long workday without that familiar ache.
We’re moving on to more dynamic back physical therapy exercises that teach your entire body to work as a single, coordinated unit. This is how you build true resilience that lasts far beyond your time on the exercise mat.
Get Your Posterior Chain Firing
Think of your "posterior chain" as the powerhouse team of muscles running up the back of your body—your glutes, hamstrings, and the muscles supporting your spine. When they're strong and working together, they form a powerful support system that takes strain off your lower back.
The goal now is to shift from managing pain to building a genuinely strong and functional body. Let's walk through three key movements that will get you there.
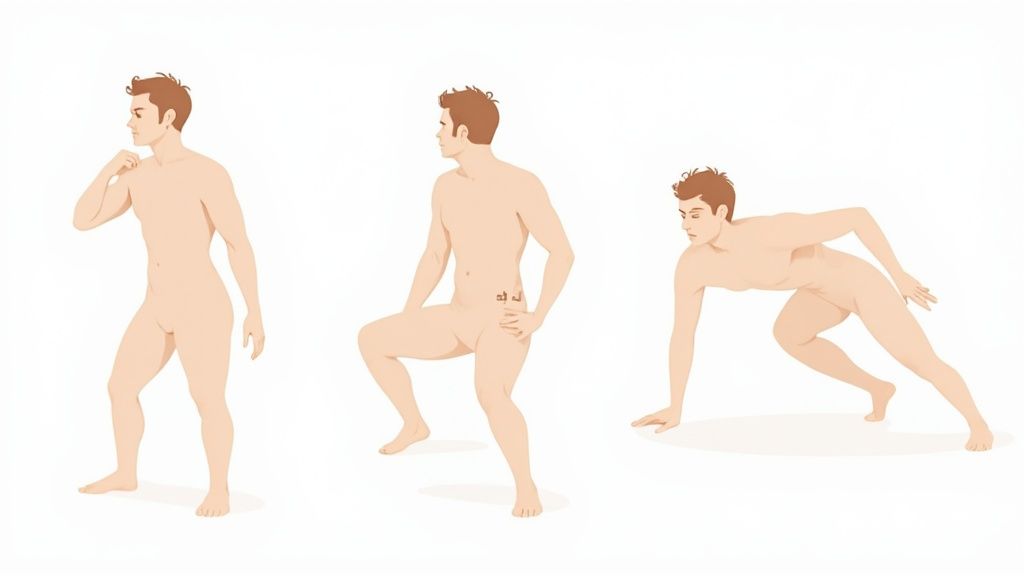
Mastering the Bodyweight Squat
The squat is one of the most natural human movements, but good form is critical for back health. A proper squat strengthens your entire lower body, especially your glutes, which are your spine’s primary shock absorbers.
- Get Set: Stand with your feet slightly wider than your shoulders. Toes can point straight ahead or slightly outward—whatever feels most natural. Keep your chest up and look forward.
- The Move: Breathe in and push your hips back first, like you're aiming for a chair behind you. Keep your chest lifted and your spine straight as you lower down.
- Form Cue: Only go as deep as you can without your lower back rounding. To come back up, drive through your heels and squeeze your glutes at the top.
- Common Mistake: Watch for your knees collapsing inward. Actively think about pressing your knees out so they track over your feet. This helps engage your hips correctly and keeps your knees safe.
A proper squat is all about the legs and glutes. If you feel a pinch in your lower back, shorten your range of motion and focus on sending those hips backward before you bend your knees.
The Forearm Plank (Done the Right Way)
Forget endless crunches. The plank is a much smarter way to build deep core strength without putting stressful pressure on the discs in your spine. It teaches your entire core to brace and protect your spine, which is its most important job.
For pure endurance, this is a must-do back physical therapy exercise.
- Get Set: Get on your stomach, then prop yourself up on your forearms with your elbows stacked directly under your shoulders. Tuck your toes and lift your body up so you're forming a straight line from your head to your heels.
- The Move: The entire challenge is to hold this perfectly still position.
- Form Cue: Pull your belly button in toward your spine to engage your abs. Squeeze your glutes and thigh muscles. Don’t let your hips sag toward the floor or pike up toward the ceiling.
- Common Mistake: The most frequent error is the lower back arching as fatigue sets in. To correct this, think about giving your pelvis a slight "tuck" under—it's the same idea as the pelvic tilt exercise. This keeps your core firing and your spine safe.
Building Stability with the Side Plank
Your back health isn't just about the front and back; the sides of your core are just as important. The side plank is fantastic for targeting your obliques and other deep stabilizers that prevent your torso from twisting or bending sideways.
- Get Set: Lie on your right side with your legs stacked and straight. Position your right elbow directly beneath your shoulder.
- The Move: Tighten your core and lift your hips off the floor. Your body should form one long, straight line from your head to your ankles. Now, just hold it.
- Form Cue: Focus on keeping your hips and shoulders stacked right on top of each other. It’s easy to let that top hip roll forward or back, so be mindful.
- Progression: Perfect form is everything. Start by holding for 15-20 seconds on each side. Once that feels solid, you can work your way up to 30, 45, or even 60 seconds.
- Modification: If the full version is too much right now, no problem. Bend your bottom knee to a 90-degree angle and keep it on the floor for support. This is a great way to build strength without overdoing it.
Your Action Plan: Creating a Personal Back Care Routine
Knowing the right moves is a fantastic start, but consistency is what truly brings relief. This is your action plan for turning these individual back physical therapy exercises into a routine that fits your life. It’s about taking ownership of your recovery and building a sustainable habit.
Building a routine isn't about following a rigid plan. It’s about learning to listen to your body. Some days you'll feel strong, while on others, gentle movement will be exactly what you need.
Structuring Your Week for Success
The key is to have a simple framework you can adapt. Here are two sample routines you can use as a starting point.
1. The "Gentle Relief" Routine (For flare-up days or general stiffness)
- Goal: To ease pain, release tension, and gently encourage mobility.
- Frequency: Daily, or even twice a day (morning and evening).
- Duration: 5-10 minutes.
- Pelvic Tilts: 10-12 slow reps.
- Cat-Cow Stretch: 10-15 flowing reps, syncing with your breath.
- Knee-to-Chest Stretch: Hold for 30 seconds on each side, repeat twice.
2. The "Core Strengthening" Workout (For days you're feeling good)
- Goal: To build the deep core strength that prevents future pain.
- Frequency: Aim for 3-4 times per week on non-consecutive days.
- Duration: 15-20 minutes.
- Warm-up: 5 minutes of the "Gentle Relief" routine.
- Glute Bridges: 2 sets of 12-15 reps.
- Bird-Dog: 2 sets of 10-12 reps per side (slow and controlled).
- Forearm Plank: 2-3 holds for 20-45 seconds (focus on perfect form).
This infographic shows how these foundational movements work together to build functional strength for your back.
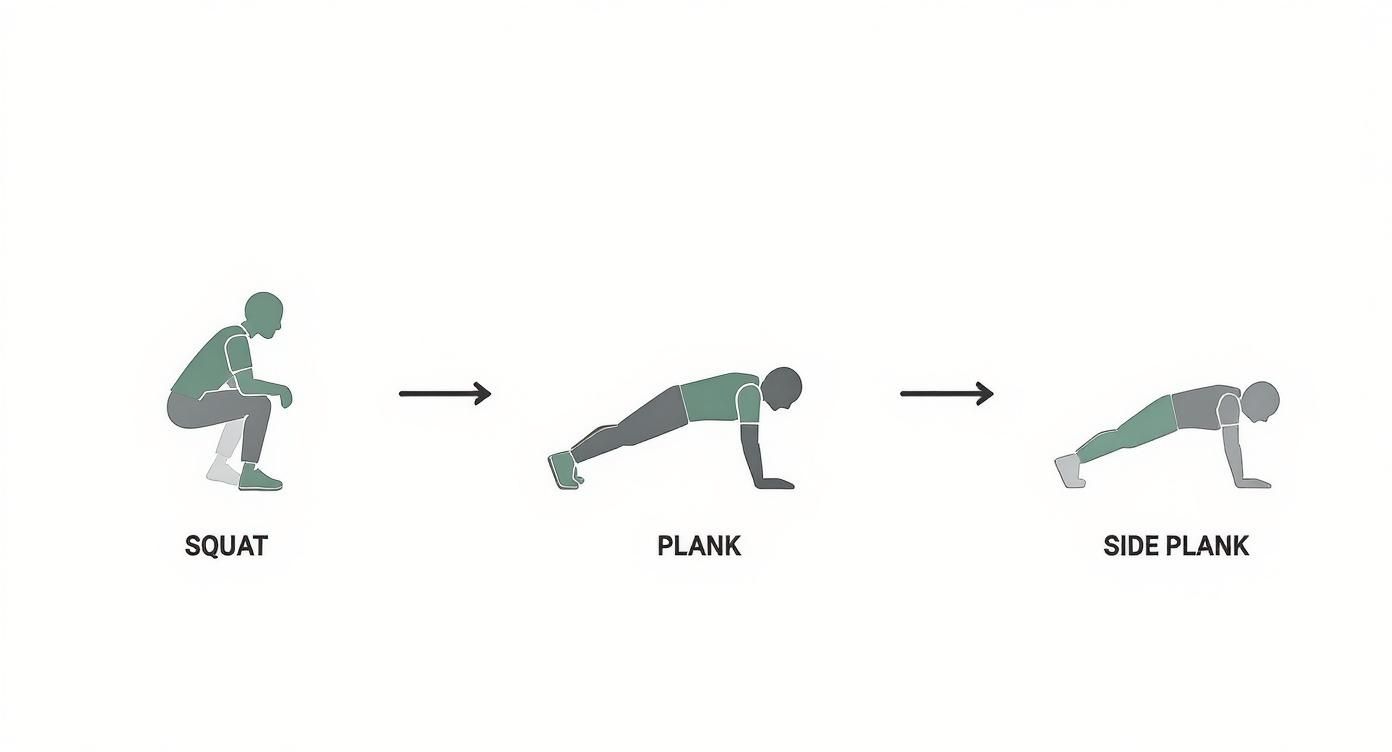
As you can see, progressing from basic mobility like squats to stability holds like planks creates a complete support system for your spine.
Listening to Your Body Is Non-Negotiable
If you take one thing away from this guide, let it be this: your body provides constant feedback. You just have to learn its language.
Key Takeaway: Mild muscle soreness a day after a workout is normal—it's a sign your muscles are getting stronger. However, sharp, stabbing, or radiating pain during an exercise is a clear signal to stop immediately.
Learning when to push and when to ease off is what separates a successful recovery from a frustrating one.
The importance of exercise for back pain isn't just anecdotal; it's a massive area of global research. Between 2018 and 2023 alone, nearly 5,000 publications focused on the topic. The United States is at the forefront, contributing over 23% of all research, which shows a powerful clinical recognition of exercise's role in spinal health. You can read the full research about these global trends on Frontiers in Medicine.
How to Track Progress and Stay Motivated
Progress isn't always a straight line, so it's important to celebrate the small wins. Keeping a simple journal can be incredibly motivating.
- Note your pain levels: Use a 1-10 scale before and after your routine.
- Track your reps/hold times: Seeing your plank time go from 20 to 30 seconds is a huge win!
- Jot down "non-scale victories": Did you sit through a movie without squirming? Lift a laundry basket without a twinge? These are the real-world signs that you're getting stronger.
By creating a flexible routine and tuning into your body's signals, you transform these exercises from a simple list into a powerful, personalized tool for a pain-free life.
Next Steps: What to Do After This Workout
Once you feel confident and strong with these exercises, you can continue to build your fitness foundation. Here are a couple of ideas:
- Increase the challenge: Try adding another set to your strengthening exercises or holding your planks for 10-15 seconds longer.
- Explore other bodyweight workouts: Consider adding a beginner bodyweight leg day or an upper body routine to create a well-rounded fitness plan.
- Focus on posture: Throughout your day, pay attention to how you sit and stand. Good posture is a 24/7 exercise for your back.
Common Questions About At-Home Back Exercises
https://www.youtube.com/embed/ZlY9Y_nQ2V8
Starting a new routine always brings up a few questions. That's perfectly normal. Let’s tackle some of the most common concerns people have about doing back physical therapy exercises at home.
Our goal here is to give you the confidence you need to get started safely.
How Often Should I Do These Exercises?
Finding the right rhythm is all about listening to your body.
For the gentle mobility movements like Cat-Cow or Pelvic Tilts, doing them daily for 5-10 minutes is fantastic. They're a great way to wake up your spine in the morning or break up long periods of sitting.
When it comes to the strength-builders like Glute Bridges and Planks, aim for 3-4 times per week. Schedule these on non-consecutive days. That rest day in between is when your muscles repair and get stronger.
Bare Fitness Philosophy: Consistency always wins out over intensity. A solid 15-minute routine done four times a week will give you far better, lasting results than one brutal hour-long session on a Saturday.
What if an Exercise Causes Pain?
This is the most important question, and the answer is simple: never push through sharp, stabbing, or radiating pain. That's your body sending a serious warning signal.
If you feel sharp discomfort, here’s what to do:
- Stop immediately. Don't try to finish the set.
- Check your form. Go back to the instructions. A tiny tweak, like engaging your core more, can make all the difference.
- Try the modification. If the standard version is a no-go, drop down to the easier variation. That's why it's there.
- If it still hurts, skip it. Your body might not be ready for that specific move right now, and that's okay. Focus on the exercises that feel productive and pain-free.
If you find that several of the back physical therapy exercises cause pain even after you've tried these steps, it’s a clear sign to check in with a doctor or physical therapist.
How Long Until I Start Feeling Better?
Patience is the toughest part of this process. Real healing and strength take time. Everyone's body is different, so your timeline will be unique to you.
That said, many people feel a noticeable drop in stiffness and improved mobility within the first one to two weeks of doing these gentle movements consistently.
As for bigger gains—like a major reduction in chronic pain and a boost in functional strength—you're typically looking at 4 to 8 weeks of dedicated work. Remember, the goal is long-term resilience, not just a temporary patch. Celebrate the small victories, like being able to tie your shoes without a second thought. Those are the real signs your hard work is paying off.
Do I Really Need Any Special Equipment?
Nope. One of the core ideas behind Bare Fitness is that you don't need a bunch of gear. The vast majority of these back physical therapy exercises just require you and a bit of floor space.
We focus on bodyweight movements because they are one of the safest and most effective ways to build the functional strength you need for a healthy back.
The one thing I do recommend is a yoga mat or a soft carpet. It just adds a little cushioning to protect your spine, making the experience more comfortable. Honestly, the most important tool you have is your own body.
Ready to build a stronger back and a more resilient body? At Bare Fitness, we provide the no-nonsense guides and simple routines you need to achieve your fitness goals with minimal equipment and maximum results. Explore more of our practical, at-home workouts today at https://barefitness.com.
More from
Lifestyle
category